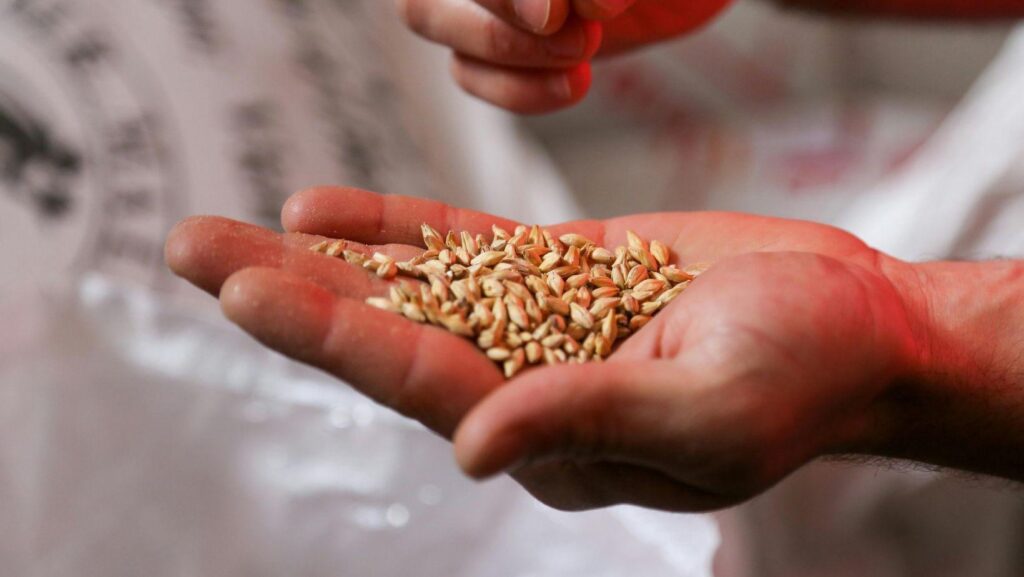
Starting your own seeds gives you access to varieties you’ll never find as seedlings at a garden center. Nurseries typically stock a handful of common types, while seed catalogs open the door to heirlooms, rare cultivars, and specialty varieties bred for flavor, color, or resilience. In this guide, you’ll learn why seed starting is worth the effort, how to time it correctly, what supplies you actually need, and how to sow and care for seedlings until they’re ready for the garden.
This guide is for first-time gardeners who’ve never started a seed indoors, as well as anyone tired of being limited to whatever six tomato varieties happen to be sitting on a nursery shelf in spring. Once you know the timing and a few basics, seed starting is far more approachable than it looks — and it opens up a much wider world of plants to grow. If vegetables are your main focus this season, browse vegetable seeds at KVITER for heirloom and high-germination options to start with.
Why Start Seeds Instead of Buying Seedlings?
Buying starter plants is convenient, but starting from seed offers real advantages:
- Wider variety selection. Seed catalogs carry heirloom and specialty varieties that almost never show up as nursery seedlings.
- Cost savings. A single seed packet often costs less than one nursery seedling and yields dozens of plants — a major saving for larger gardens.
- Control over growing conditions from day one. You know exactly what soil, water, and treatments your seedlings have been exposed to, with no unknown chemical treatments from a commercial grower.
- The satisfaction of growing something from scratch. Watching a plant go from seed to harvest under your own care is one of the most rewarding parts of gardening.
When to Start Seeds: Timing It Right
Timing is the single biggest factor in seed-starting success.
- Find your last frost date. This is the average date of the final frost in your area and the anchor point for your entire planting schedule.
- Count backward from your planting-out date. Most seed packets list how many weeks before your last frost a crop should be started indoors (commonly 4–8 weeks for warm-season vegetables).
- Know which crops should never be started early. Direct-sow crops like carrots, beans, and root vegetables generally dislike transplanting and should be sown straight into the garden once conditions are right, rather than started indoors ahead of time.
Supplies You’ll Need
You don’t need an elaborate setup to start seeds successfully, but a few basics make a big difference:
- Seed trays, cells, or biodegradable pots to give each seedling its own space to develop roots.
- Seed-starting mix, not regular potting soil — it’s lighter, sterile, and drains better, which helps prevent disease in young seedlings.
- A reliable light source — grow lights positioned close to the seedlings, or a bright south-facing windowsill if grow lights aren’t an option.
- Heat mats for warm-season crops like tomatoes and peppers, which germinate faster with gentle bottom heat.
- Labels and a simple tracking system so you always know what’s growing where — it’s easy to lose track once several trays start looking identical.
How to Sow Seeds Step by Step
Sowing is simple once you know the sequence:
- Moisten the seed-starting mix before sowing so it’s evenly damp, not soggy, before you add seeds.
- Follow the planting depth rule of thumb — bury each seed about twice as deep as its diameter (very fine seeds may just need to sit on the surface).
- Cover and water gently. Bottom watering (setting trays in a shallow tray of water) is often gentler on seeds than top misting, which can displace them.
- Create humidity with a dome cover or plastic wrap over the tray until germination, which helps keep the surface consistently moist.
Germination Care
Once seeds are sown, the waiting game begins — but a few conditions make germination faster and more reliable:
- Keep temperatures within the ideal range for the crop; most vegetable seeds germinate best between 65–75°F (18–24°C), with heat-loving crops like peppers on the warmer end.
- Watch for the first signs of germination — a small loop or sprout breaking the soil surface — and remove any humidity dome shortly after most seeds have sprouted to prevent mold.
- Watch for common problems: damping off (a fungal issue that kills seedlings at the soil line, usually from overly wet, poorly ventilated conditions), leggy seedlings (thin, stretched growth from insufficient light), and surface mold (usually a sign of excess moisture or poor airflow).
Caring for Seedlings After Sprouting
Once seedlings emerge, their needs shift:
- Light requirements increase. Seedlings generally need 14–16 hours of light per day under grow lights, positioned just a few inches above the leaves.
- Thin seedlings if more than one sprouted per cell, keeping only the strongest one so it isn’t competing for light and nutrients.
- Start first feeding once seedlings have their first true leaves (not the initial rounded cotyledons), using a diluted liquid fertilizer at about half strength.
- Rotate trays regularly if using a windowsill, since seedlings will lean toward the light source and need turning for even growth.
Common Mistakes to Avoid
A few missteps account for most seed-starting failures:
- Starting too early or too late relative to your last frost date, resulting in either leggy, overgrown seedlings or a shortened growing season.
- Overwatering or underwatering, both of which stress young roots and invite disease.
- Not enough light — this is the number one cause of leggy, weak seedlings, and no amount of fertilizer will fix a light problem.
- Skipping the hardening-off process, which is one of the most common reasons seedlings die within days of being transplanted outdoors.
Conclusion
Seed starting is far simpler than it looks once you understand the timing and the basics — it just takes a bit of planning and attention in those first few weeks. Pick two or three easy crops to start with this season, get comfortable with the process, and expand from there next year.
Whatever you decide to grow — vegetables, herbs or flowers — starting with reliable seed makes the biggest difference in how your season turns out. KVITER offers heirloom and rare varieties tested for high germination rates, organic certification where applicable, and eco-friendly biodegradable packaging complete with QR codes linking to quick planting guides. Explore the full collection at KVITER and get your seed-starting season off to a strong start.